Somewhere, etched into the very fabric of the universe, it says “your boiler will only fail if it’s subzero outside”.
Somewhere else it also says “if you start a blog about software development, your most popular articles will be about home maintenance”. Nevertheless, I figure I must be doing something right, so when my boiler went weird again it was time to put a colander on my head and pray once again that it was something simple and cheap.

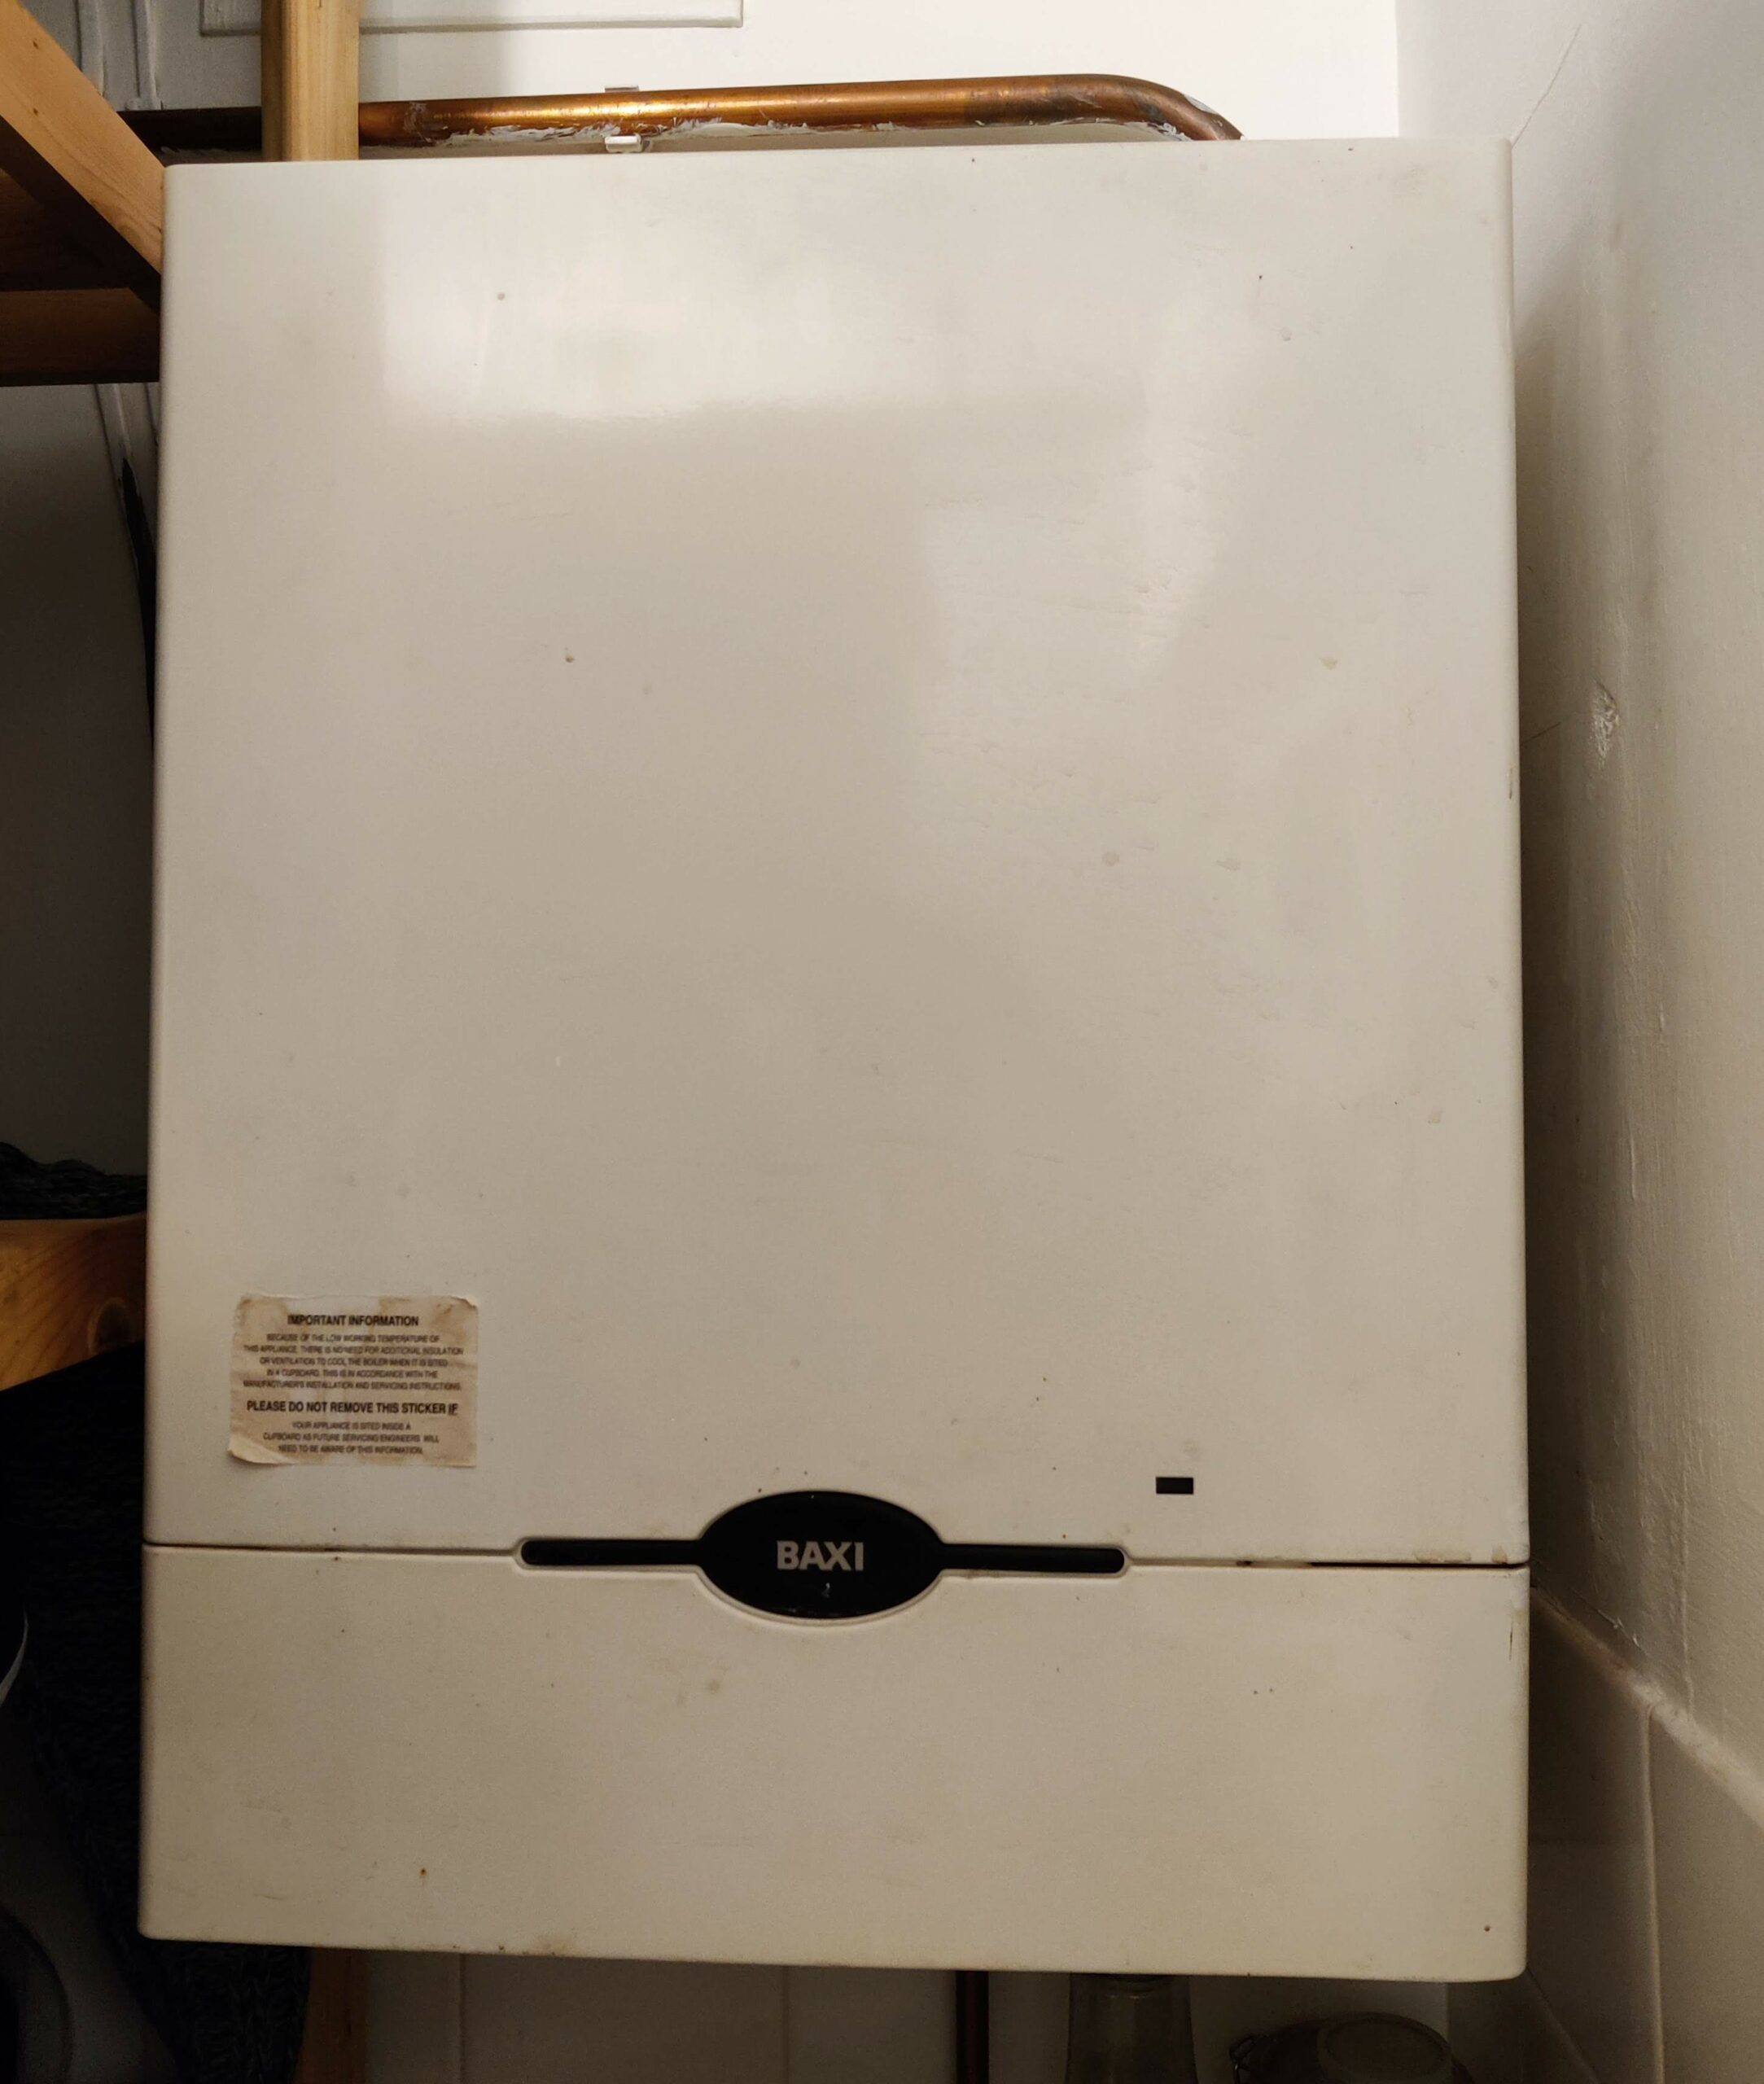
This house has a Baxi Solo 3 (mains gas) system boiler. The advantage of these old system boilers is that they’re as simple as a boiler can be. You put cold water in one side, it does fire and contributes to global heating, you get hot water out of the other. All the rest is just making sure it doesn’t blow up or fill your house full of gas or emissions.
My boiler was being extra safe. It did fire up, but it also did an awful lot of sitting around doing nothing whilst the demand light beamed longingly at me.
The Solo 3 follows a pretty basic sequence:
- If there’s demand, it checks the thermistor on the output pipe.
- If the thermistor temperature is less than the configured position on the heat adjuster knob, it checks the air pressure (via the air pressure switch) in the flue.
- If the air pressure is good, it tries to start the fan.
- If the fan starts, it will cause a change in the air pressure in the flue. If the air pressure switch changes, it will try to operate the gas valve.
- If the gas vale operates and all else is well, it will fire the boiler.
If you’ve popped over to the Baxi website and have downloaded the manual this might surprise you, because it differs from the “Fault Finding” flow chart in section 11. The flow chart omits the fact that it checks the air pressure switch before it attempts to start the fan.
If any of the conditions change whilst it’s running, it shuts down the burner and returns to stage 1. This is quite normal with the thermistor, it heats the water until it hits the configured temperature, then it shuts down. The water in the system cools as it goes through the radiators, when it drops (significantly) below the configured temperate, the boiler starts again, moving to stage 2.
It’s also worth mentioning that there is an overheat detector which can also shut everything down. It has its own light on the left hand side of the control panel. That can be eliminated from enquiries very easily.
My boiler had demand for heat, but the fan wasn’t starting – or at least it wasn’t starting reliably.
The first thing to eliminate is the thermistor. The manual tells you how to test it with a multimeter, but that means removing the cover and you can get a good indication without doing that:
- Set the temperature control knob to minimum
- When the boiler does fire up, wait until it stops again
- Turn the temperature control knob up
If the boiler fires up again, it’s a relatively sure sign that the thermistor is working. It’s not 100%, but it’s a good indication. I was lucky, the test worked, so I could be fairly confident it wasn’t the thermistor.
I knew the fan could work, but was there a fault with it? The first thing I needed to know is if it was getting power. That did mean opening the boiler up.
At this point I have to mention two things.
- In the UK there are regulations about working on gas installations. There’s certain work can only be carried out by Registered Gas Installers.
- I’m not a Registered Gas Installer, but I am an trained and apprenticed electronic technician with experience in working on mains power control circuits.
I asked a friend of mine, who is a Registered Gas Installer, what his opinion on the regulations was. This is rather a tricky area, not only do opinions between Registered Gas Installers genuinely differ, they are also professionals and have to consider their professional responsibilities. There are Registered Gas Installers who will tell you that you can’t even take the outer cover off a boiler. I can see some justification for this; a little carelessness with a screwdriver can have fatal consequences.
In my friend’s opinion what I did complied with the regulations, because I didn’t change the installation or touch anything to do with the gas or control of the gas. Basically this is the disclaimer: if you’re following what I did from here, don’t blame me if you end up getting dragged in front of the beak and I’m certainly not accepting any responsibility if you gas yourself or anyone else or cause any explosions.
This is gas, it’s poisonous on the way in, poisonous on the way out and if you get it wrong it goes bang and can take out your whole house and a neighbour or too with it. Always err on the side of caution and if you’re unsure about anything call a Registered Gas Installer.
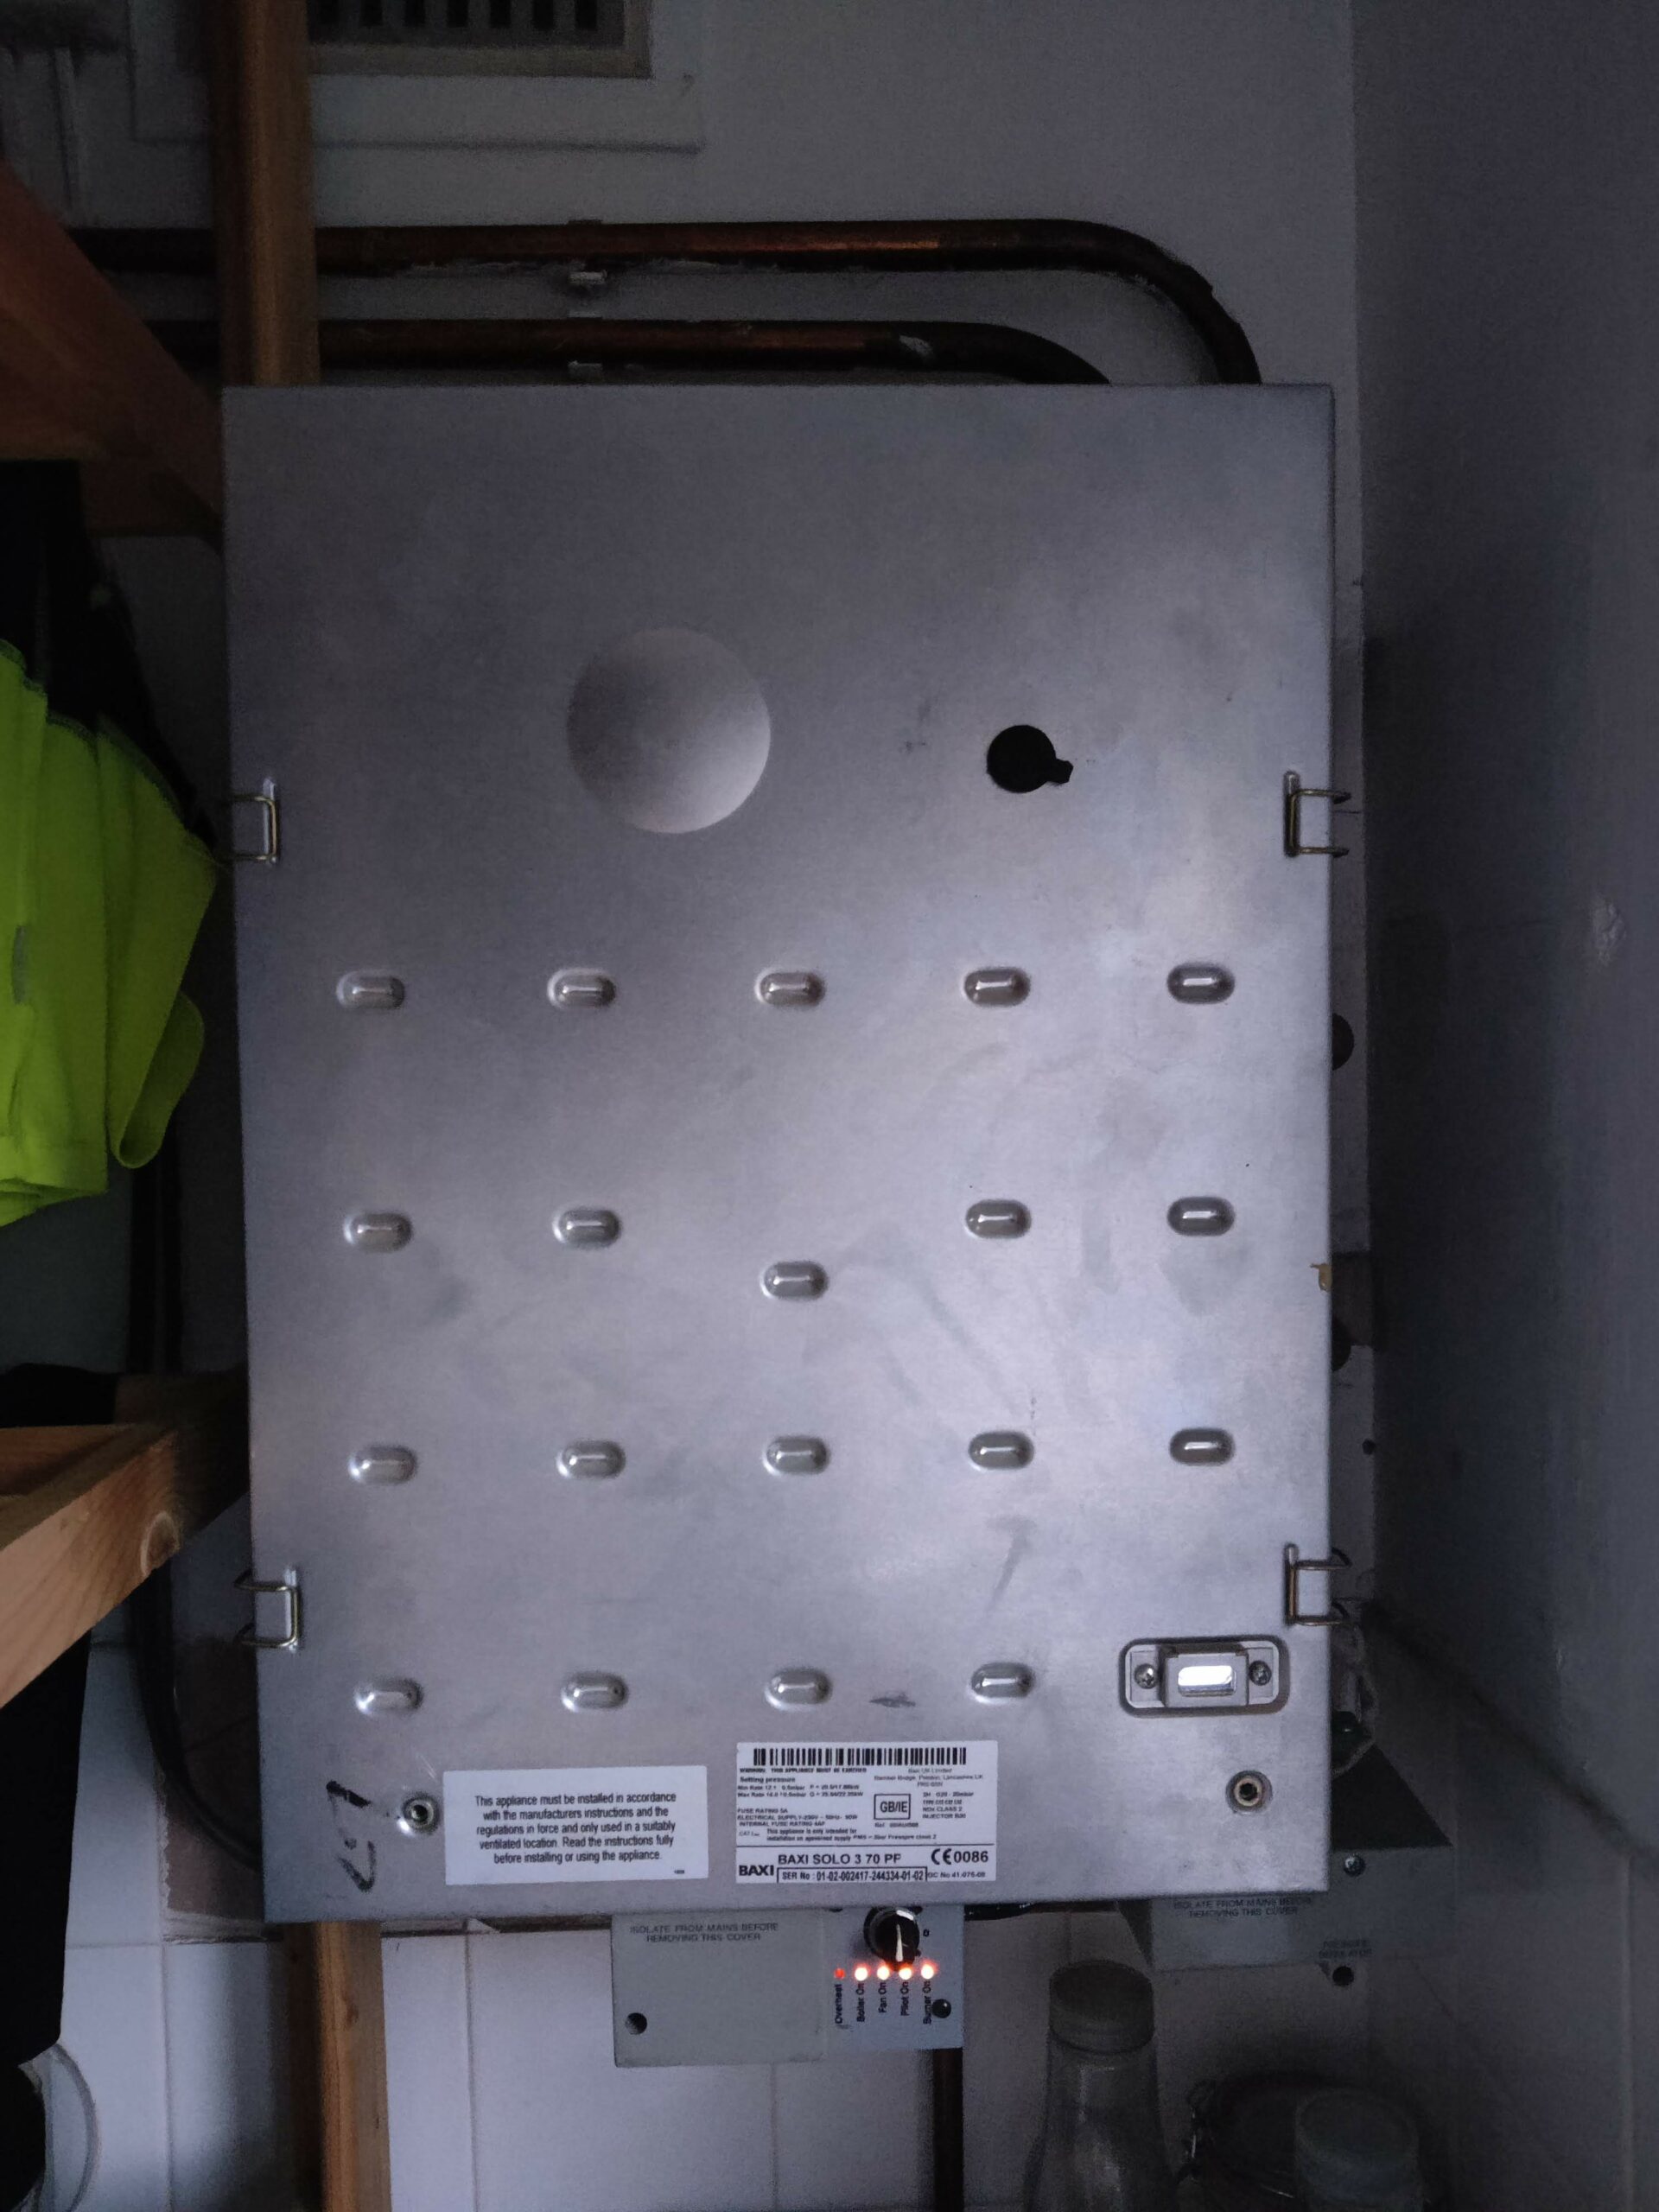
To test the fan I needed to take the covers off. The procedure is laid out quite clearly in the manual.

What the manual doesn’t make clear is that to remove the outer case you have to hitch it up a bit to get the rear flange out of two slots at either side of the top. Be very careful removing the outer case, it’s cheaply produced, there are gaps between folds and potentially sharp flanges that could snag and damage cables, etc.
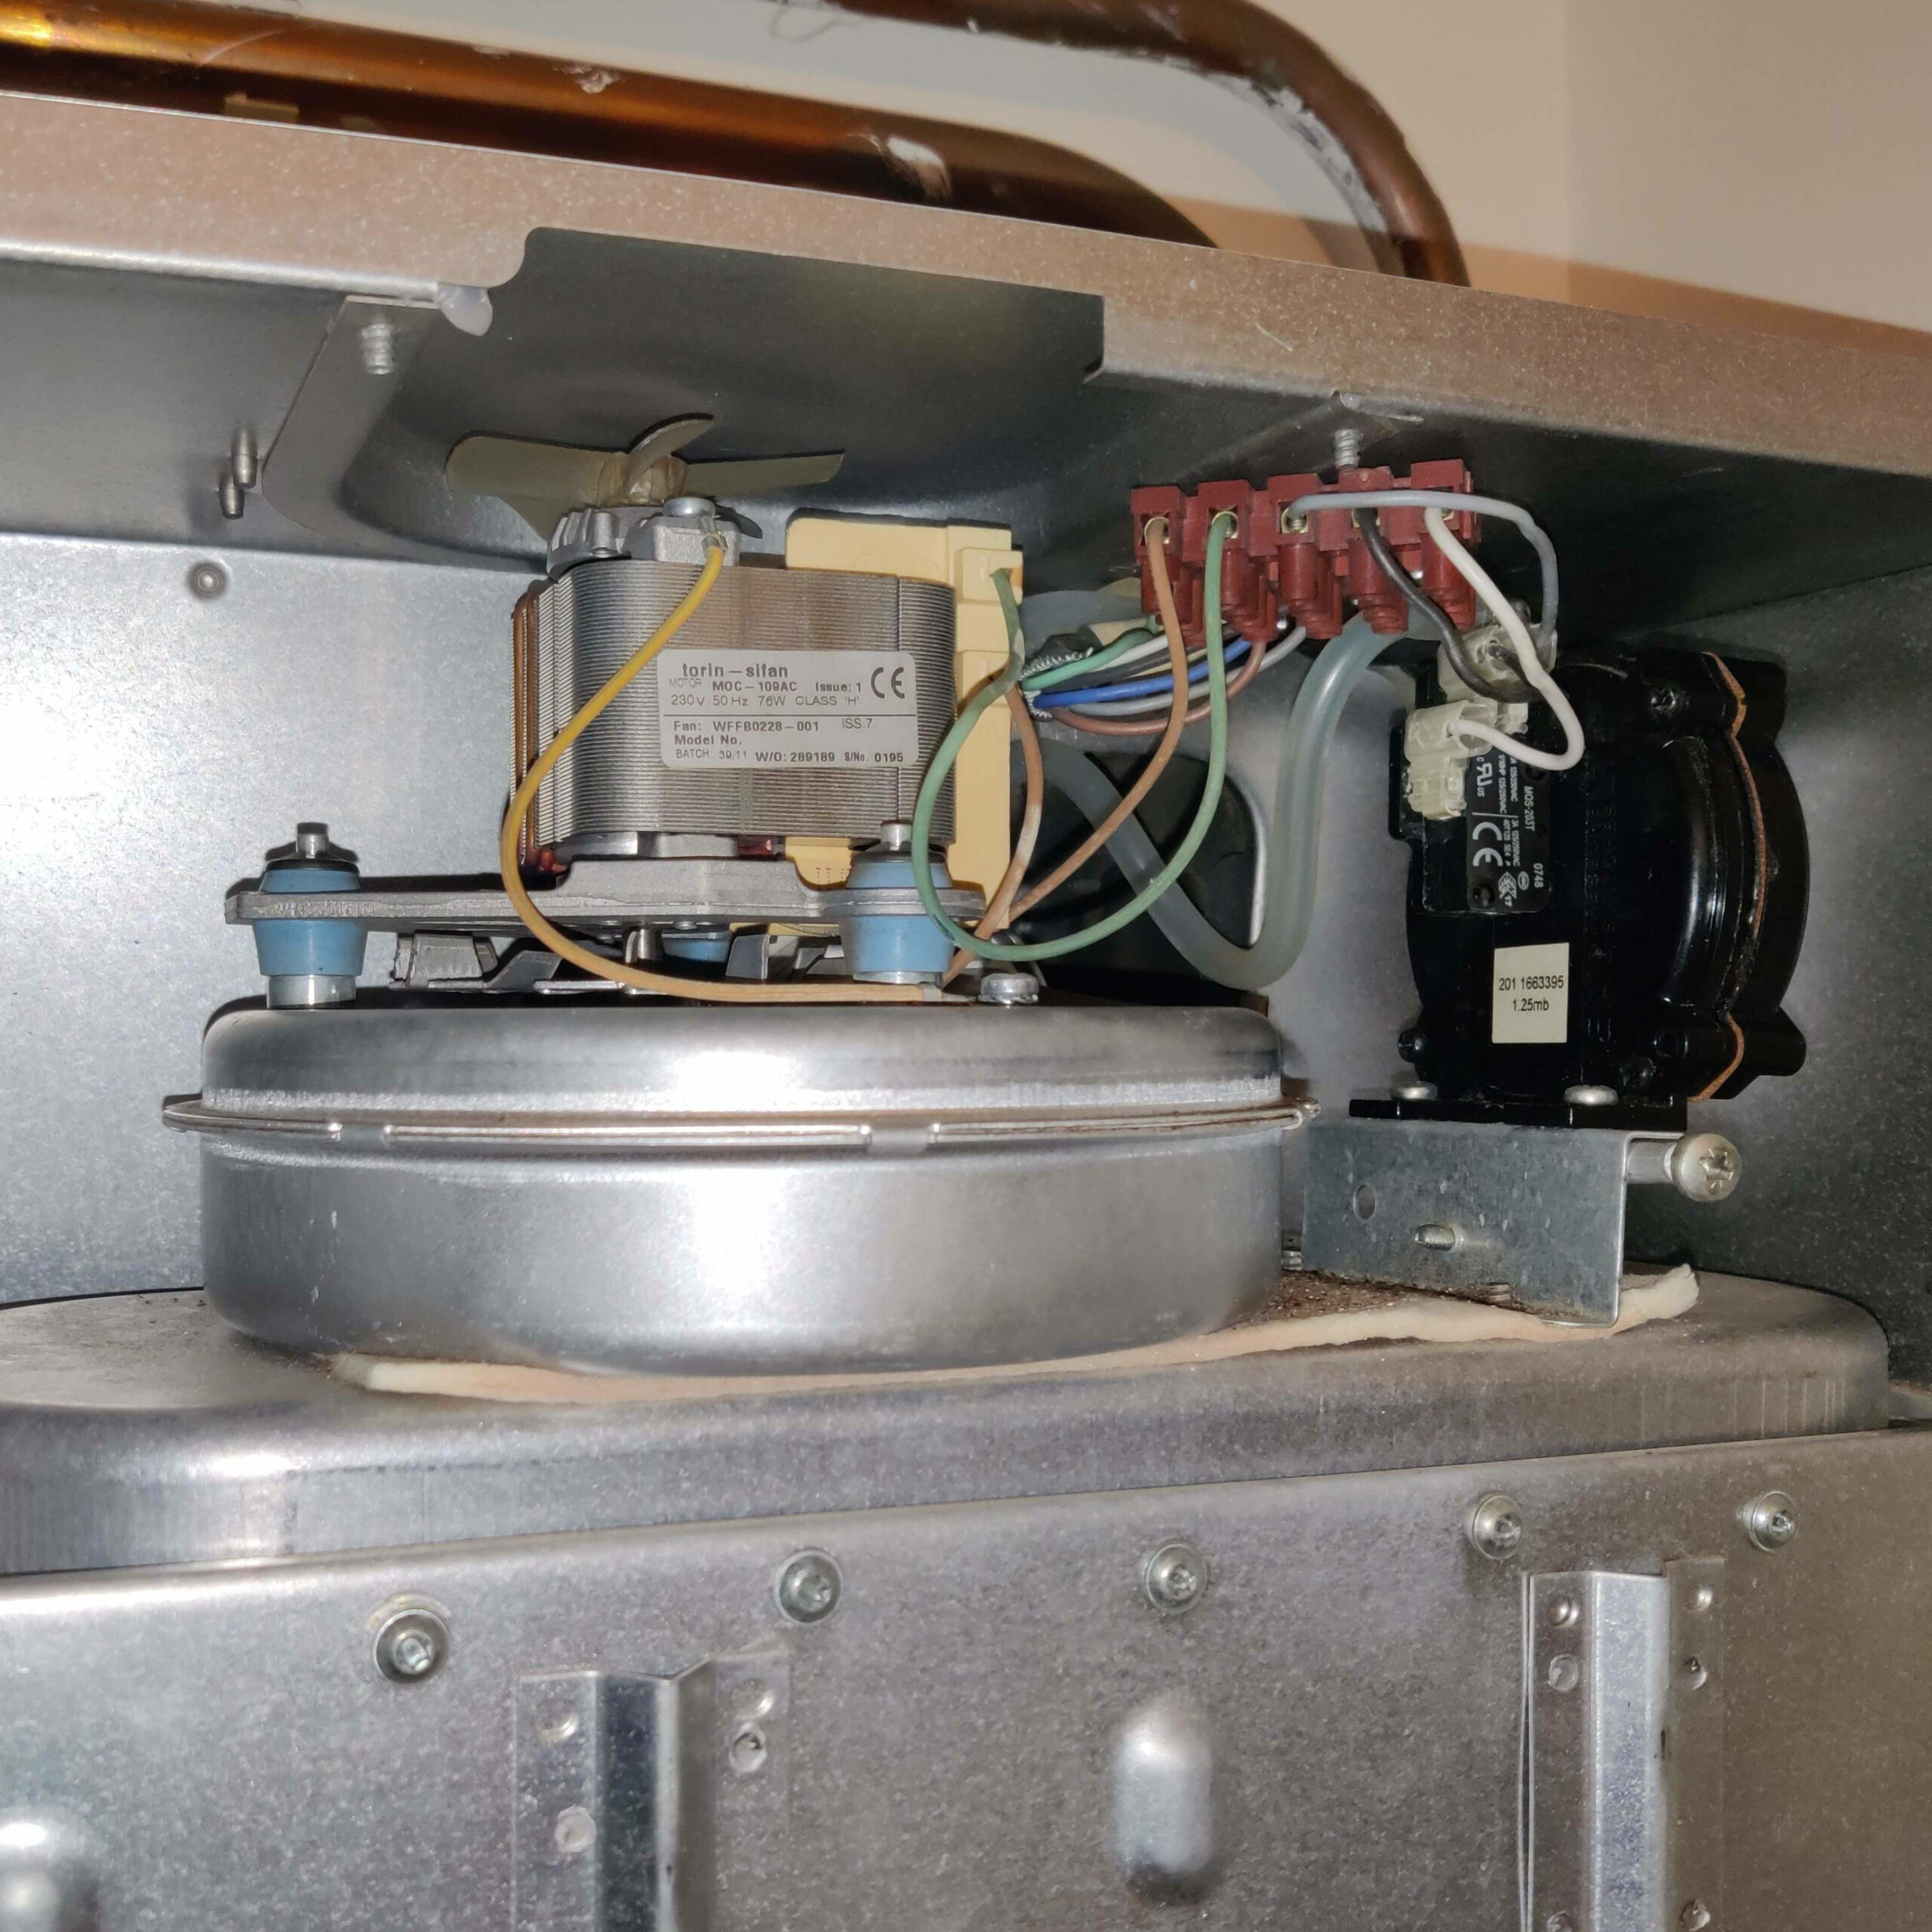
The fan is obvious and easy enough to test with a multimeter. I made sure everything was clear and there were no trailing cables or exposed contacts that I was likely to touch or get caught up in, then turned the power back on – permanent live first then switched live. The demand light came on, but the fan wasn’t getting any volts. Since I knew it worked sometimes, that made it rather unlikely it was a fault with the fan itself.
I then turned the power off. It’s only my cats that are likely to get electrocuted, but that’s not the point, exposed mains connectors are a bad idea.
The next thing to consider was the air pressure switch. That’s obvious too. On its left, staring me in the face with 3 wires attached, was a microswitch. It had 3 terminals, meaning it was probably a SPDT type – a common terminal would be connected to one of the other two depending if the plunger was depressed.
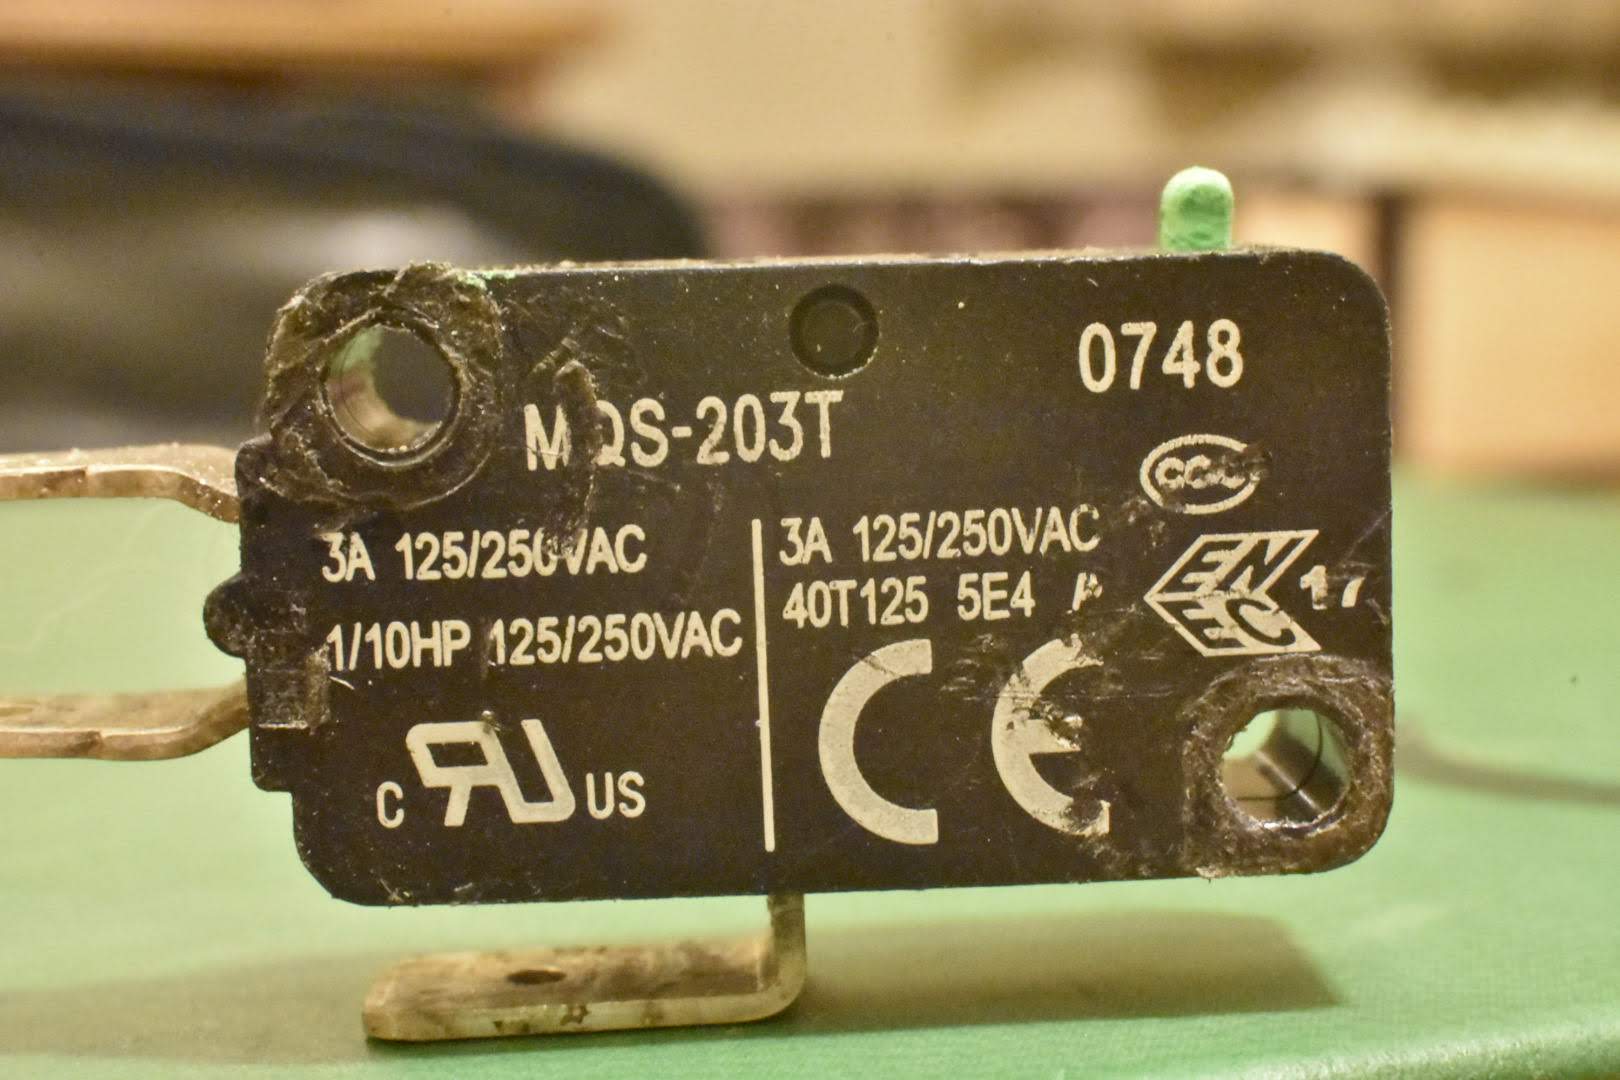
The problem was that I didn’t know which terminals should be connected or not connected in either state. There’s a general stereotype for these, but you can never be 100% sure without either the manufacturer’s data sheet or testing it. Fortunately it had quite a lot of information printed on it and after digging through a few online archives of Chinese data sheets I was able to find the information I needed.
The common terminal is the one on its own, on the bottom of the switch (left in the picture above). Depending on the position of the plunger, it’s connected to one of the other terminals, referred to as “Normally Closed” (connected when the plunger is out) and “Normally Open” (connected when the plunger is pushed in).
There was another problem, however. Was the plunger pressed or not? Visually, it was difficult to tell. Nevertheless, it wouldn’t hurt to know what state the switch was in, so I checked the contacts. It was “NC”, normally closed.
This is where a little experience comes in useful. It’s a harsh environment and the switch was clearly old. Sometimes the contacts wear, sometimes the switch action gets a bit sticky. I gave the switch a few smart taps with the back of an electrical screwdriver and tested it again. It had changed to “NO”, normally open.
I popped the inner cover back on, turned the power back on and the boiler fired up right away. I repeated this experiment a few times and got exactly the same result every time.
It was probably the microswitch, but I couldn’t rule out the diaphragm, not without taking the whole air pressure switch apart. The most sensible thing to do was to order a complete new pressure switch and replace it.
There’s a note of caution here, the manual lists the part as 246054 but you’ll find that difficult to get hold of. Baxi has discontinued that part. I was able to find an updated part number from the Baxi web site and get it ordered from a major (and reputable) parts supplier. The manual has enough information in it to make replacing the air pressure switch a straightforward job. I don’t have anything to add, other than the fact that – on my boiler – someone had stuck the tray that contains the fan and the air pressure switch in place with a blob of silicone sealant so it was tricky to move.
I now have a properly working boiler and I certainly saved upwards of £60, maybe even over £100, that calling out a plumber would have cost.
It annoyed me though, with VAT and delivery the air pressure switch still cost me nearly £65 and I know the microswitch alone would have been less than £5. I hate unanswered questions. If I didn’t find out, it was going to nag at me. Could I really have fixed the boiler for less than £5?
The microswitch was held in by a plastic rivets. If you’re careful, you can gently heat an old pair of pliers and squash the rivet heads inwards, then extract the microswitch.
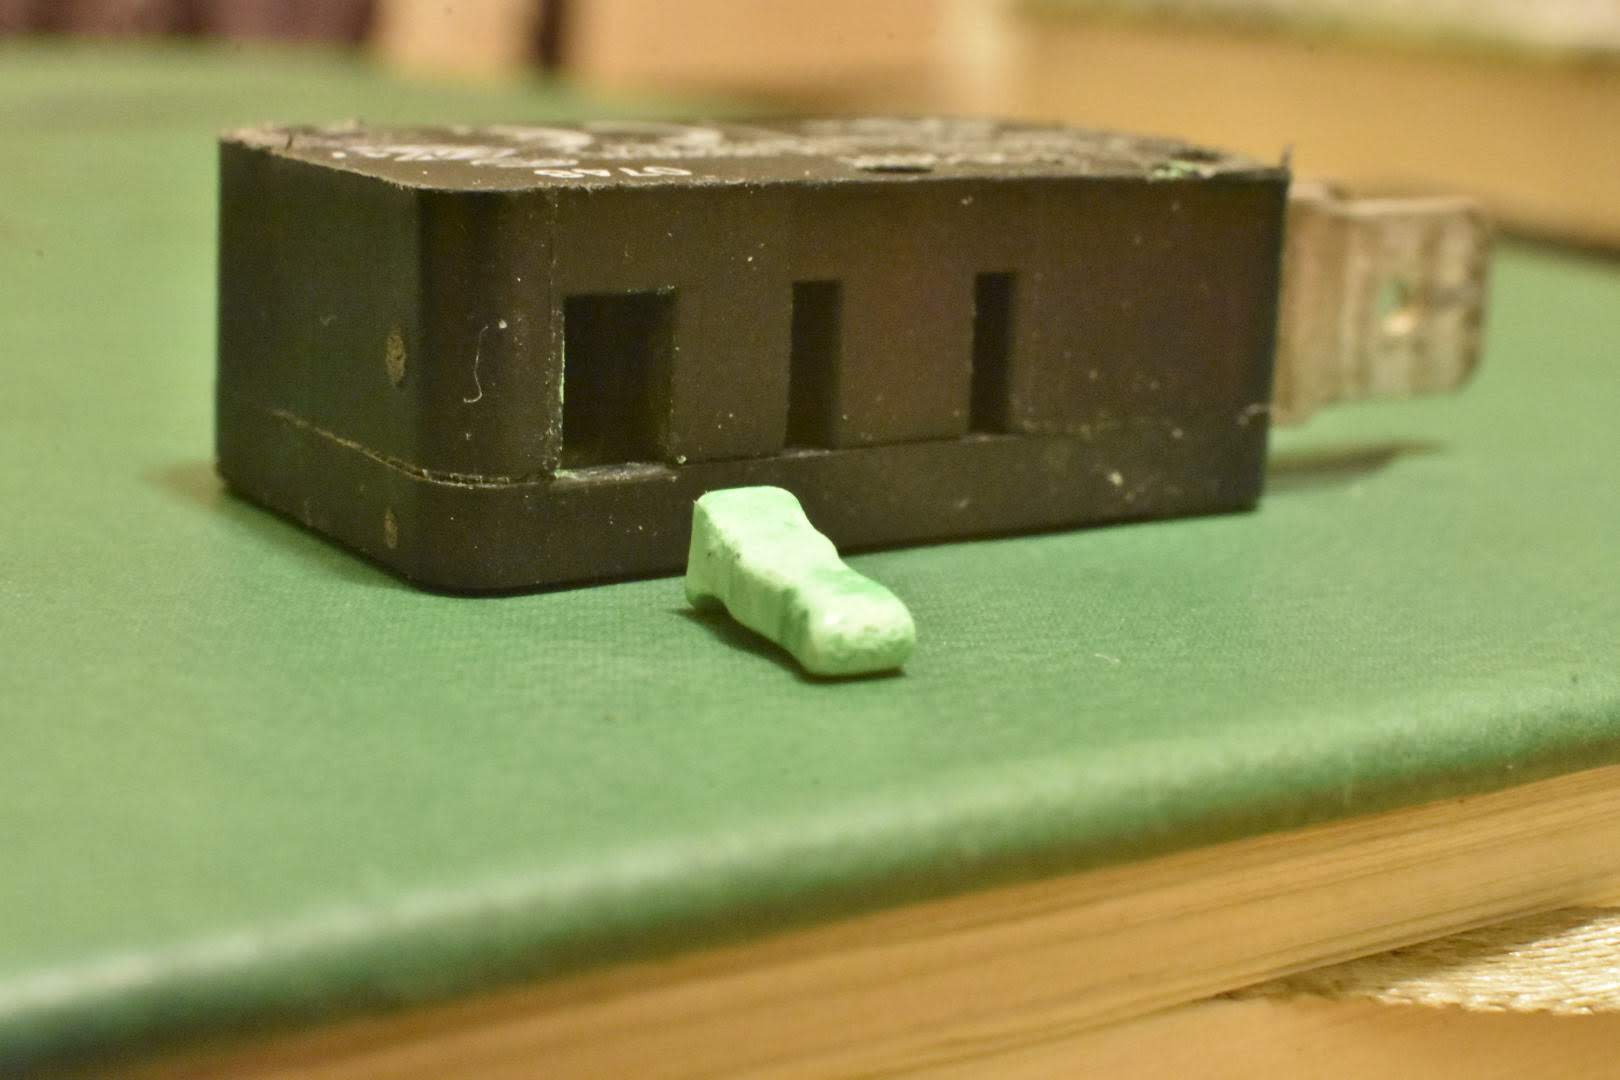
Um… yeah, that will have been the problem; the switch was so old and worn that when I got it separated from the mount the plunger simply fell out.
It seems that Toneluck don’t produce that exact microswitch any more, but you can get switches with the same form factor, similar operating force, the same temperature range and electrical ratings for about £2.50.
In conclusion, yes I could have fixed my boiler for less than £5. I’m not unhappy with the outcome, however. There are two reasons for this.
The first is simple, I now have a brand new, updated part in my boiler. I shouldn’t have to worry about the air pressure switch for some years to come.
The second is a little more subjective, it’s opportunity cost. Let’s assume that a Registered Gas Installer would correctly identify the problem and fix it for £100 in labour (plus £65 for the part). Instead, I spent a few hours (all in all) getting to the bottom of it, ordering the part and very carefully making the replacement, with lots of reading of manuals and double-checking because, you know, gas go boom. If I’d spent that time working, I would have made more than £100.
I could say that I did it because I enjoy the challenge and there’s a little bit of truth to that. The greater truth is that I did it because of instinct. I grew up in a world with very different economics, where spending an entire weekend saving a call out charge would be considered time well spent.
I’m very conscious that I came from that world: it actually means a lot to me. I’m also conscious that there are an awful lot of people still in that world and that, right now, that number is growing every day – as Jack Monroe’s now infamous twitter thread so adeptly explains:
Ed: Unfortunately Space Karen has fucked up twitter so, at the moment, I can’t like directly to Jack’s Tweet. So here’s a screenshot linked to the text. Please give Jack Monroe a follow, however. She’s always interesting.

If my experience helps a few people not have to make the choice between heat and food, then all of my time, including the time it took me to write the article, was – without question – worth it.